


My Mini does not have the comfort package. This means the key FOB is sealed and BMW/Mini doesn’t want you to change the battery yourself.
BHPian Jeroen recently shared this with other enthusiasts.
A couple of days ago I got this warning on the dash of the Mini.
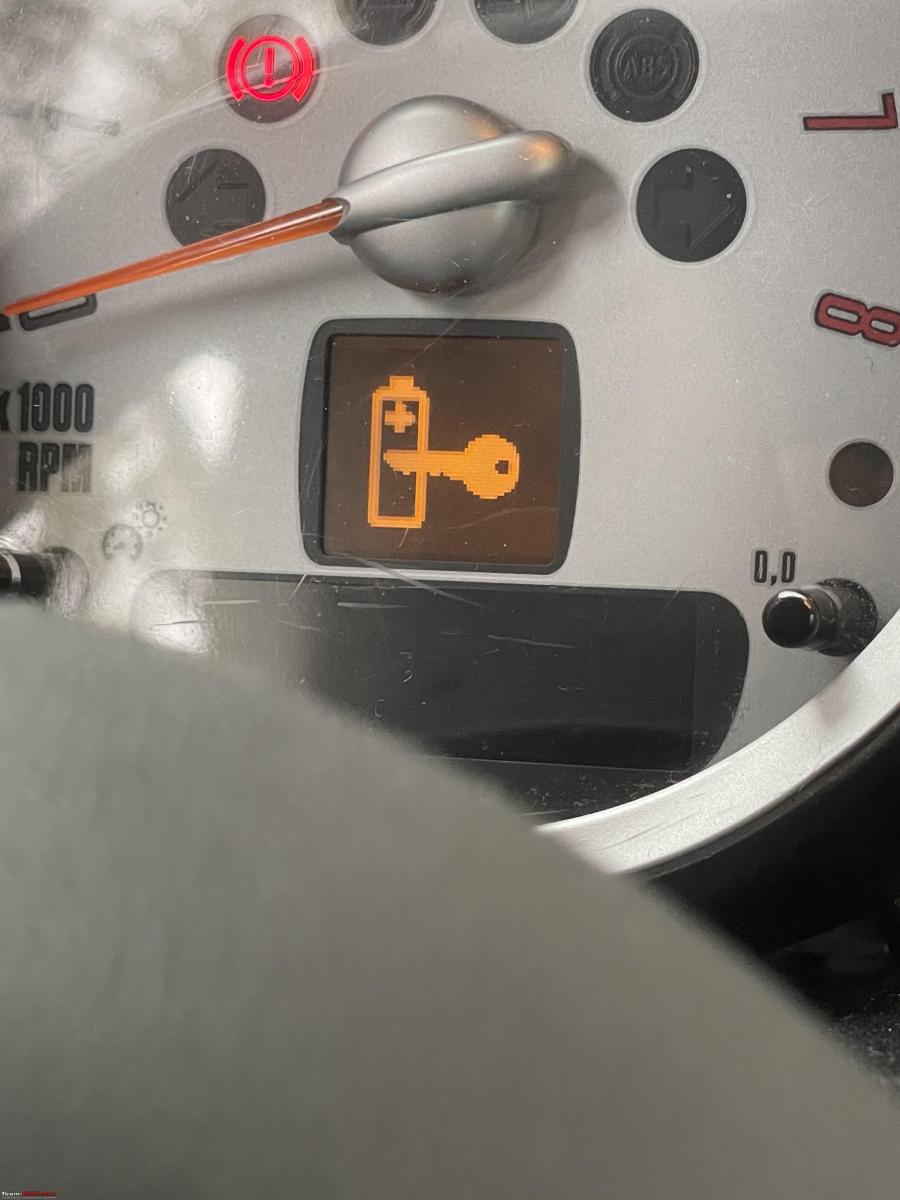
My Mini comes with two Key FOBs. This warning means the battery of the Key FOB is on its last legs.
There are no external contacts on these key FOBs, the little battery gets charged using induction when you push the Key FOB into its little cubby hole on the Dash.
I just realised I had no idea why we call these things FOB. So I asked the Internet and this is what it told me:
Quote:
The word fob is believed to have originated from watch fobs, which existed as early as 1888. The fob refers to an ornament attached to a pocket watch chain. The origin of the term “fob” as in “key fob” goes back to either the Middle English fobben, or German Fuppe (pocket), or the German foppen meaning sneak-proof.
According to my owner manual, my Mini comes with two different key FOBs. If your Mini has the comfort package your key FOB has a removable battery. Easy peasy
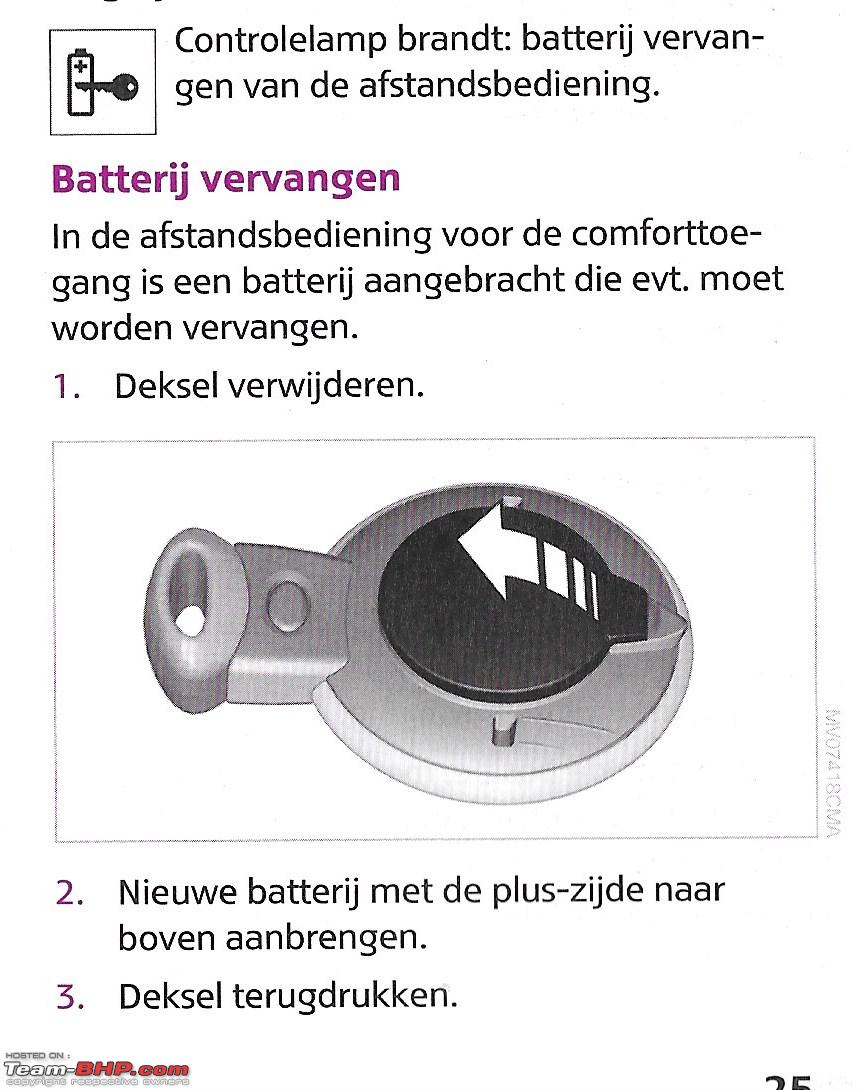
My Mini does not have the comfort package. This means the key FOB is sealed and BMW/Mini doesn’t want you to change the battery yourself. Well, you can imagine what a new BMW/Mini key FOB is likely to cost. Probably more than I paid for the whole car.
So I decided to take it apart. We have a few, recent, threads on battery replacement on Key FOBs, so I thought I would show the various steps involved.
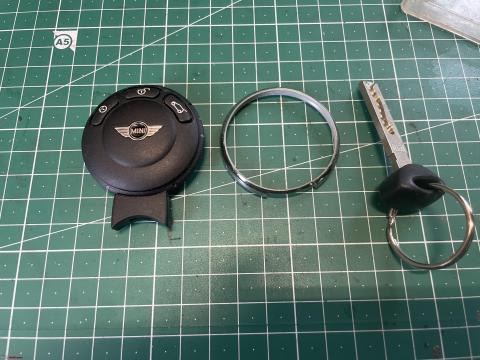
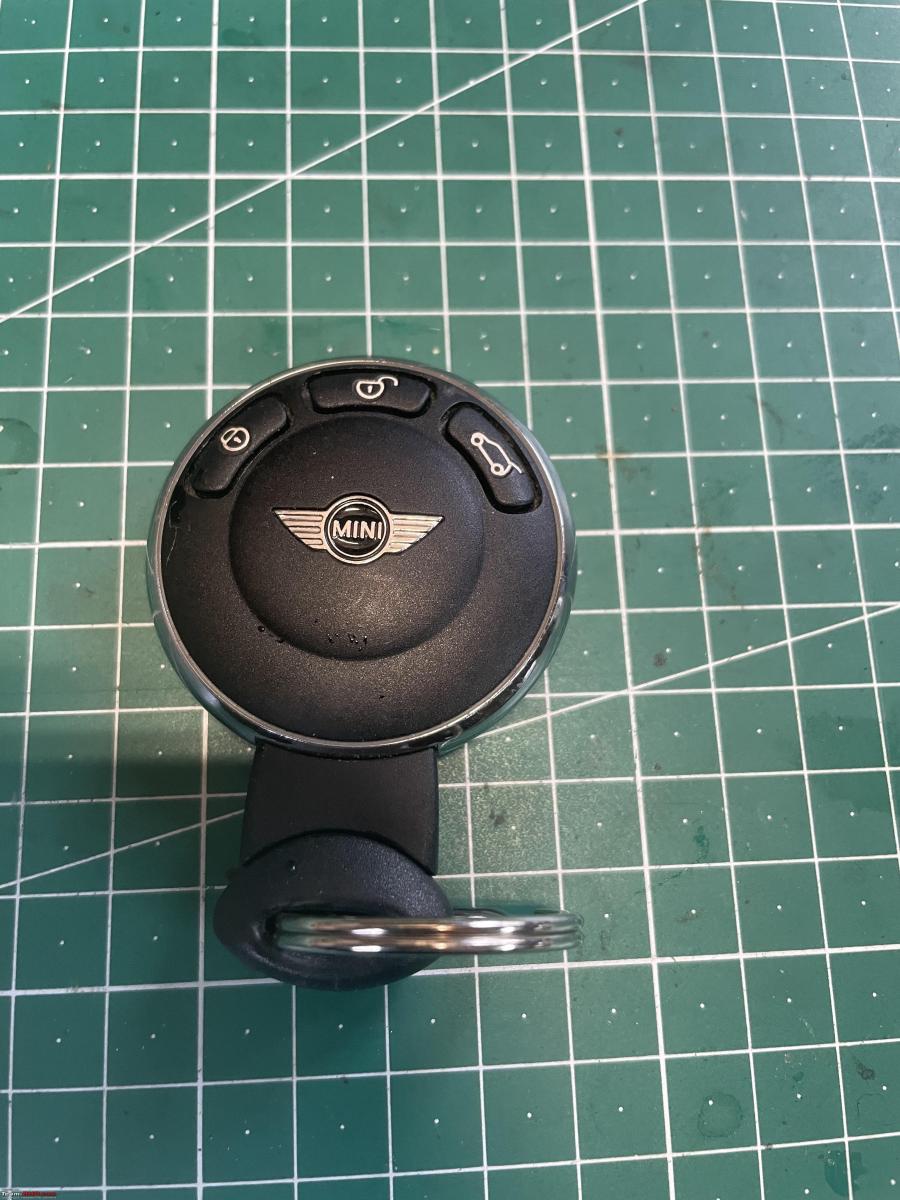
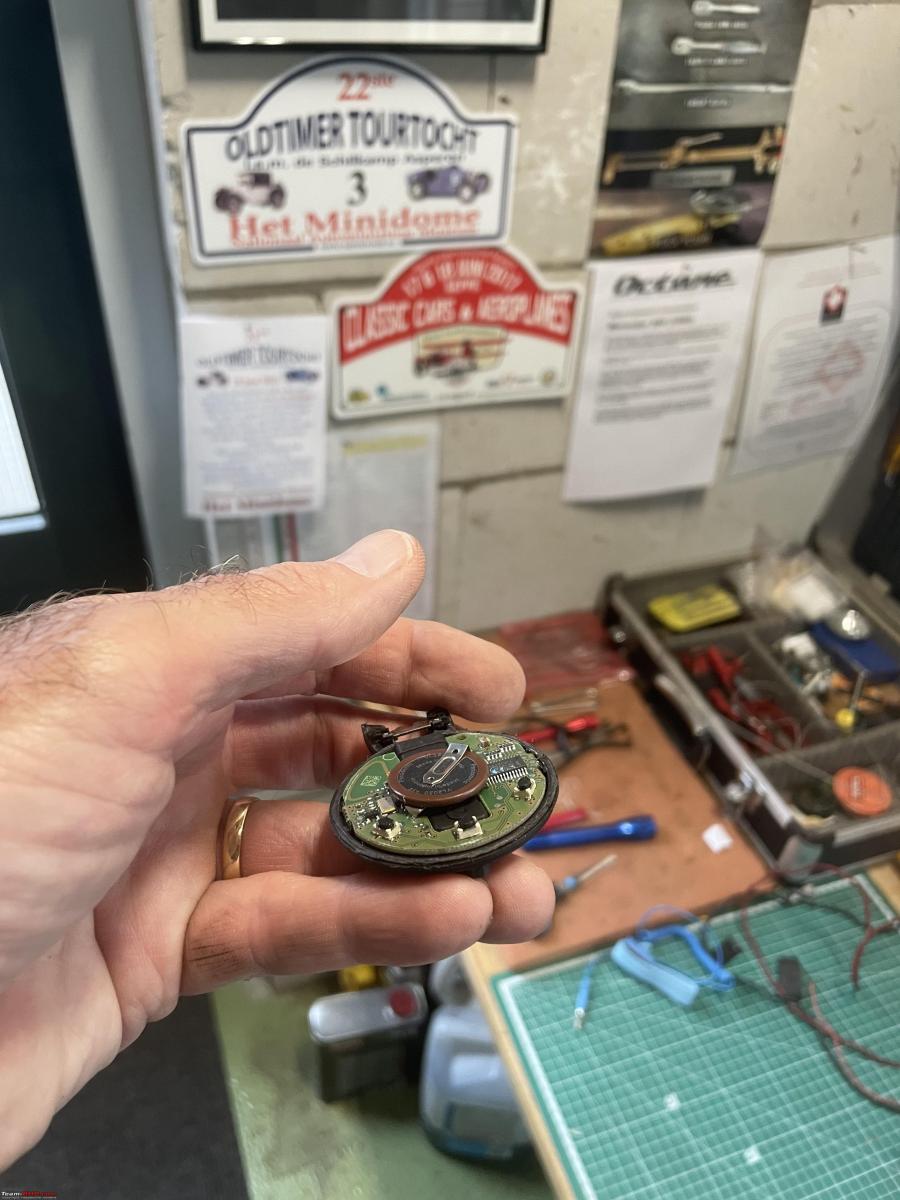
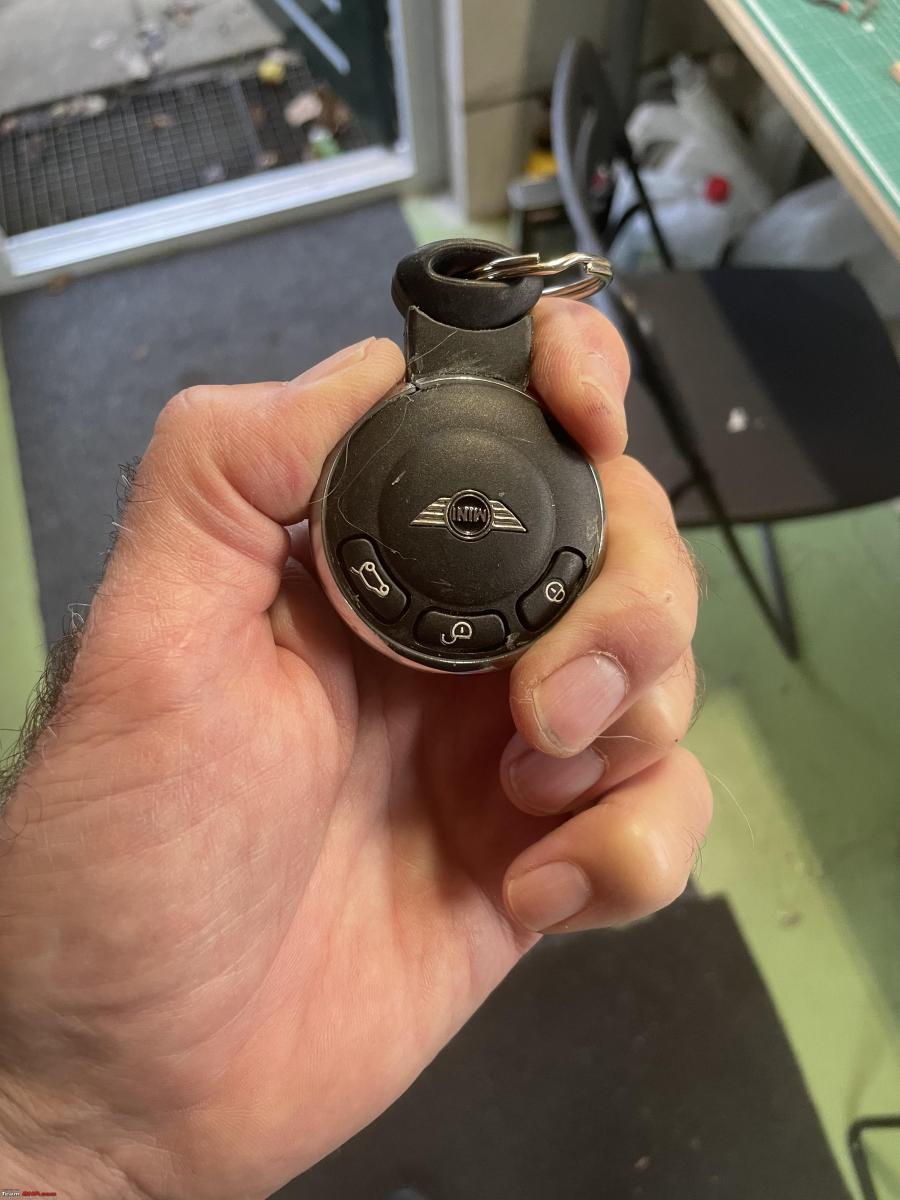
This is what my Mini Key FOB looks like
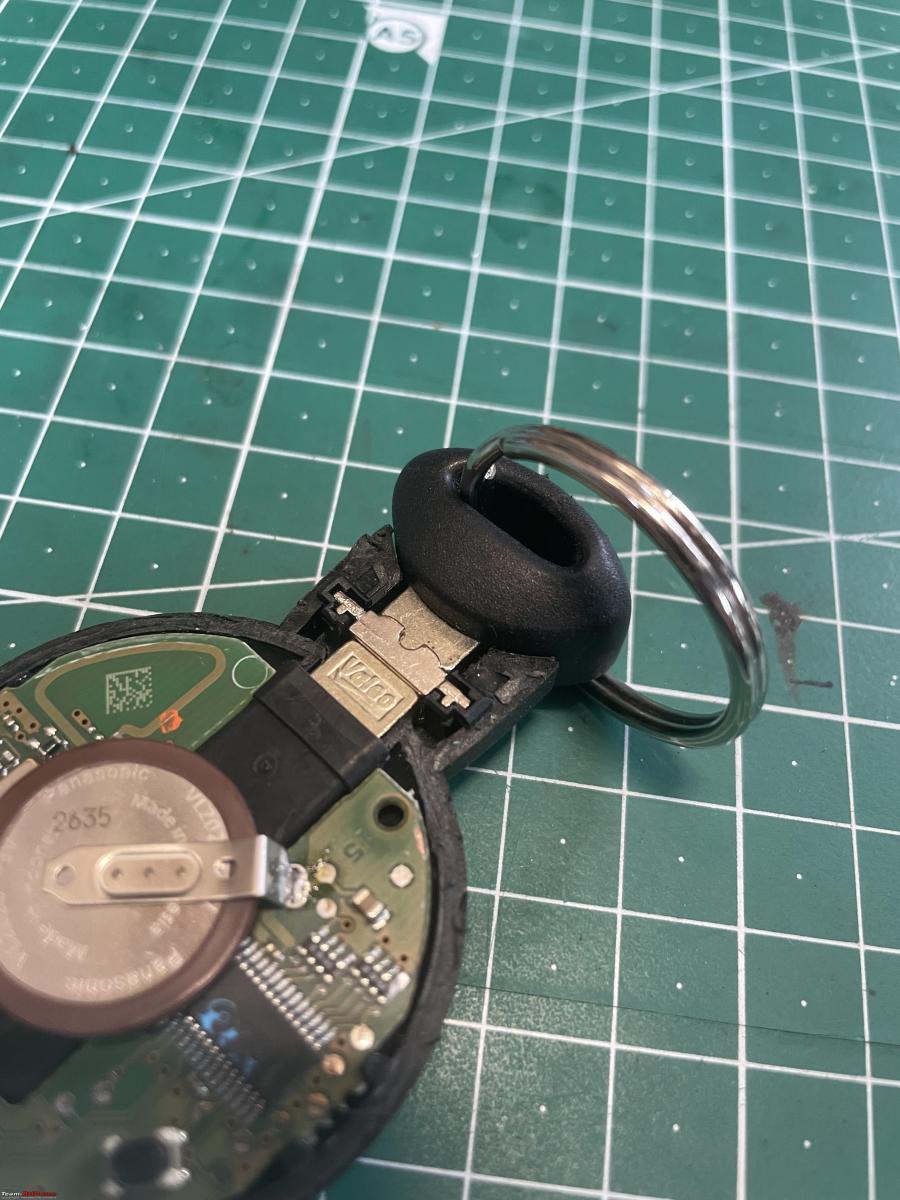
In case the battery runs down completely, you can pull out a normal key and that will allow you to operate the car normally.

The first thing was to pry off this chrome ring around the key FOB. Everybody on YouTube video’s does this very carefully, but doesn’t show the ring once removed. I did it very very very carefully and it still broke! I guess I won’t be making YT videos

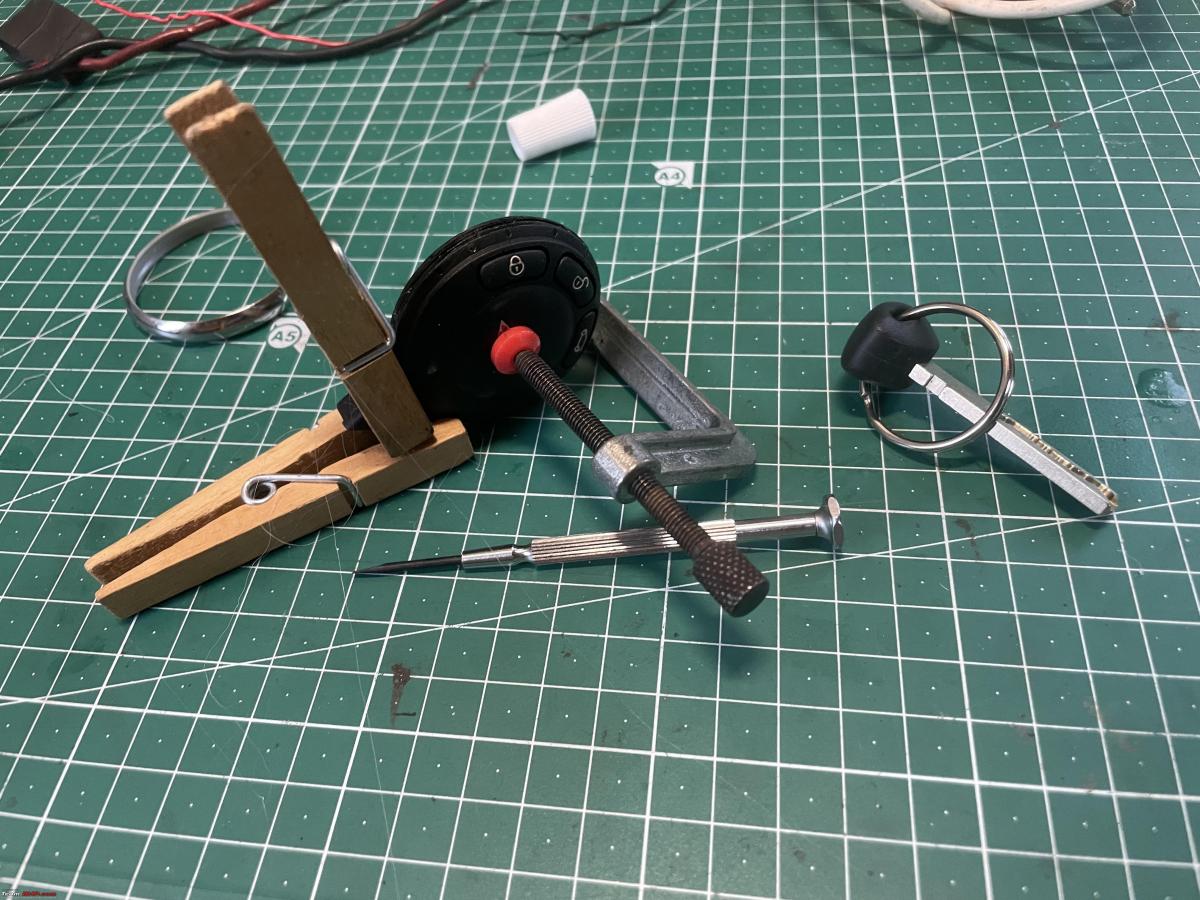
The next thing is the tricky bit. You need to open up the Key FOB along its side. It is all glued, so there is no other way. Get yourself a very sharp knife, the sharper the better and find a way to hold the Key FOB so you don’t end up cutting yourself.
I ended up putting a block of wood in the vice and some rags around it. This provides sufficient and safe support for all my cutting.

Once you have cut deep enough around the complete circumference you can take the two halves apart.

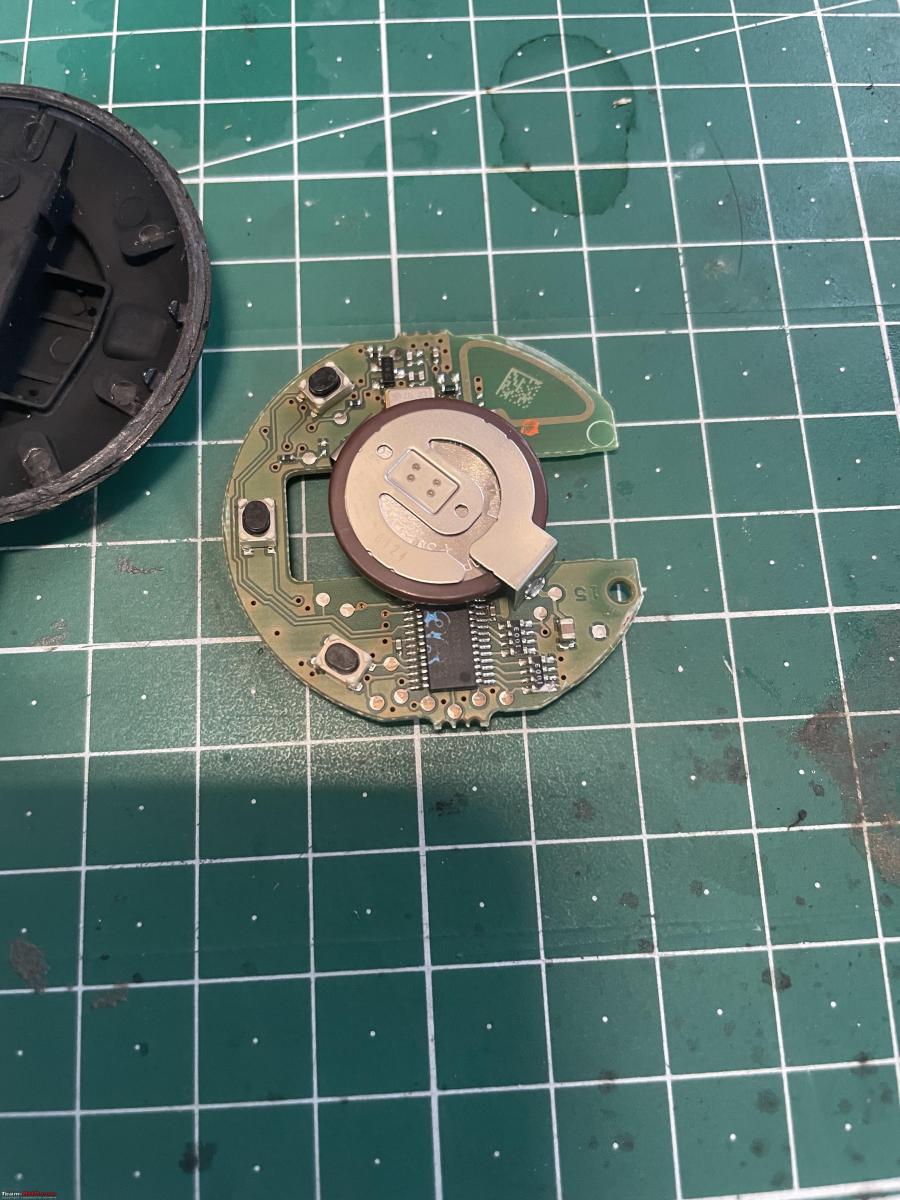
The little circuit board comes out by itself.
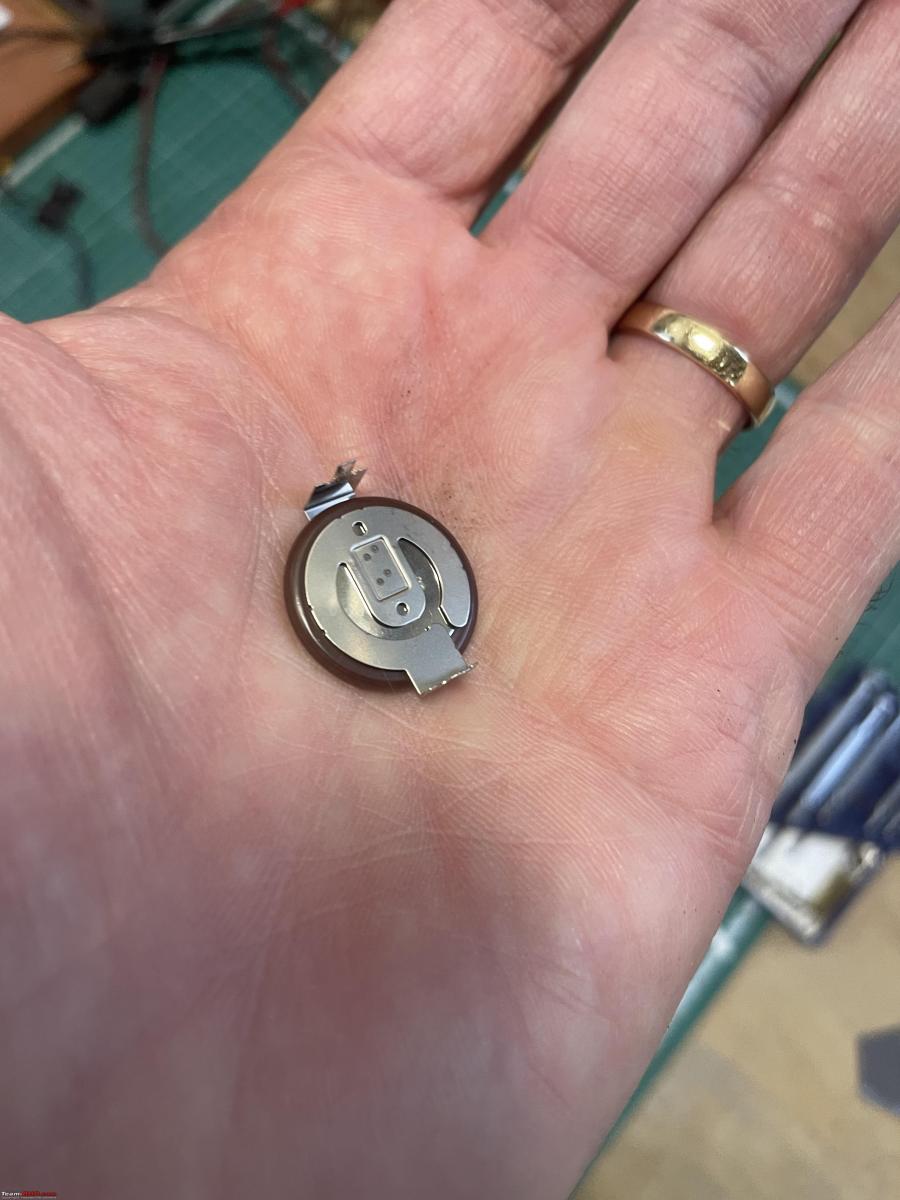
A bit of careful soldering and the battery comes free of the board.

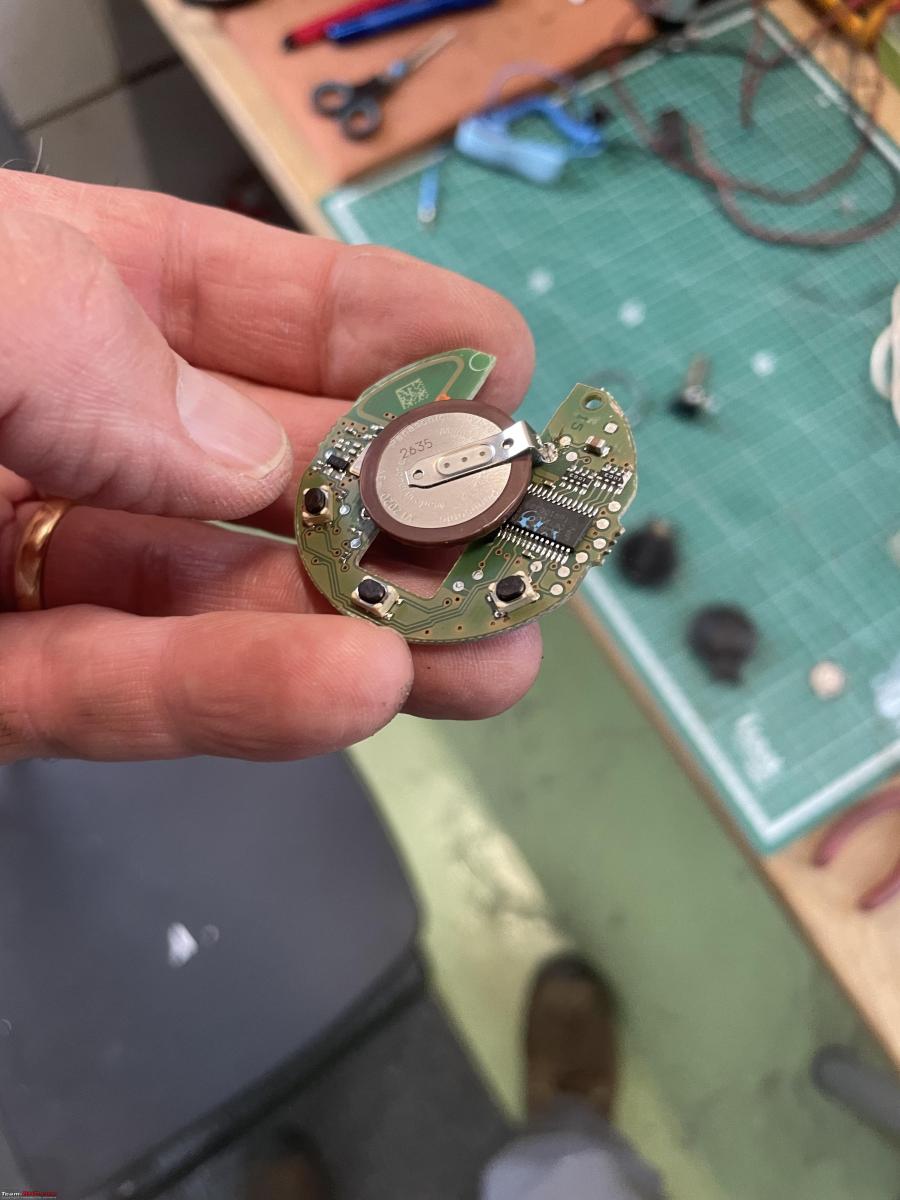
Here we are, this is just a simple rechargeable standard button battery. It has these clips attached to it, so it fits onto the circuit board. For those interested it is a Panasonic VL2020-1HFN rechargeable BMW-Mini Battery
Let’s take a closer look at the Key FOB circuit board. It is very simple. All Key FOBs look similar. You can see the three little micro-switches. These do wear out over time and can often be replaced individually as well. I just sprayed some electro cleaner on them

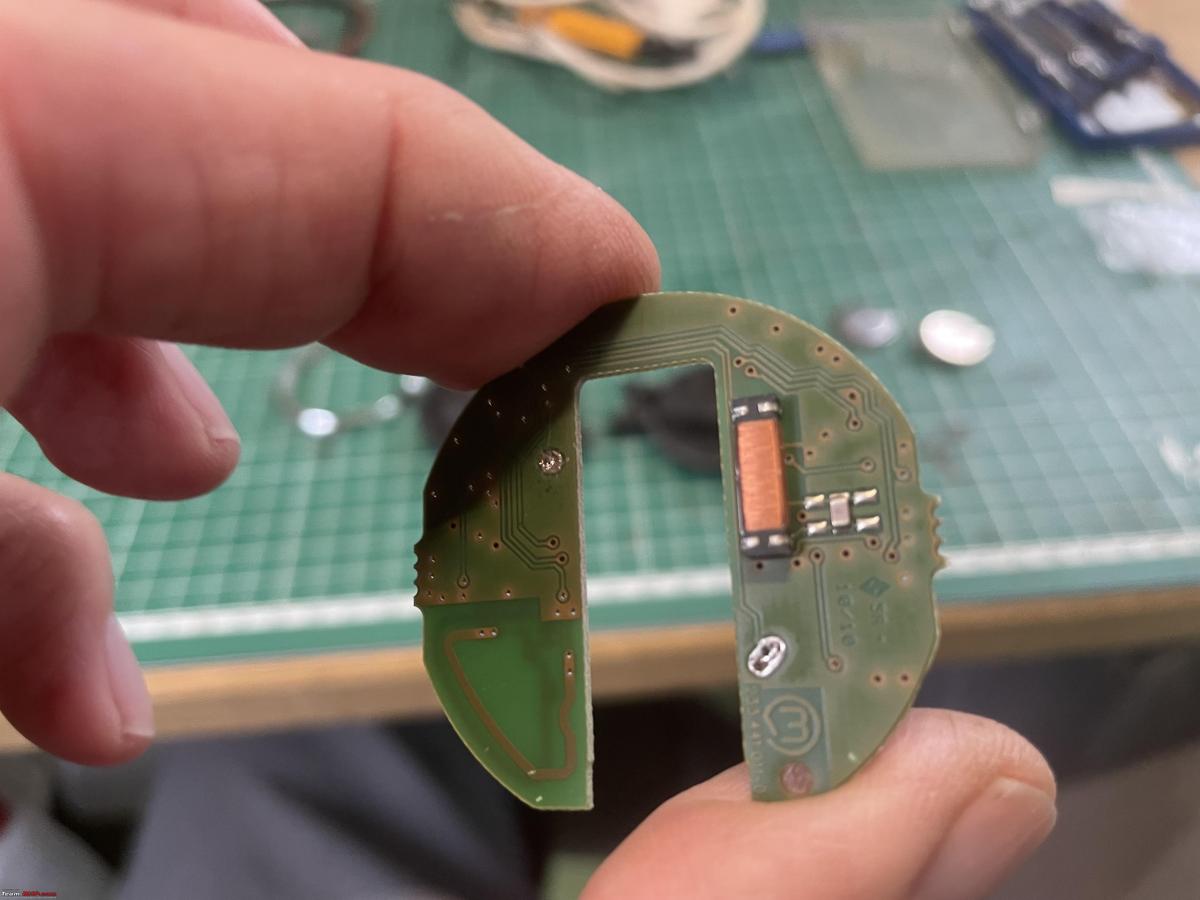
The rear of the little circuit board. Note the coil. That is part of the induction system to provide electrical charge to the battery without having external contacts.
when working on electronic components, you need to take special precautions against electrical discharge. You need a special workstation, earthed and you need to be wearing one of these too.

Over the years I have found these key FOBs to be very robust. So I don’t bother anymore.
I took the number from the old battery and popped it into Google. Plenty of online companies that could offer me this battery. You do need to look closely as I found that the same battery comes with different clips attached, or rather the angle is different. As you can see, the + and – clip are 180 degrees apart. But I have seen batteries with 90 or 120 degrees apart too.
So I ordered one battery online and it arrived the next day.
New (left) and old (right). As always check to see if new parts will fit the bits where the old part came from. I double-checked the + and – orientation with my multimeter. Also, the little = and – connector clips are a different size. You can’t make any stupid mistakes soldering it back in.

Or can you? Well, I certainly could bugger it up. Have a look:
Can you spot the problem?
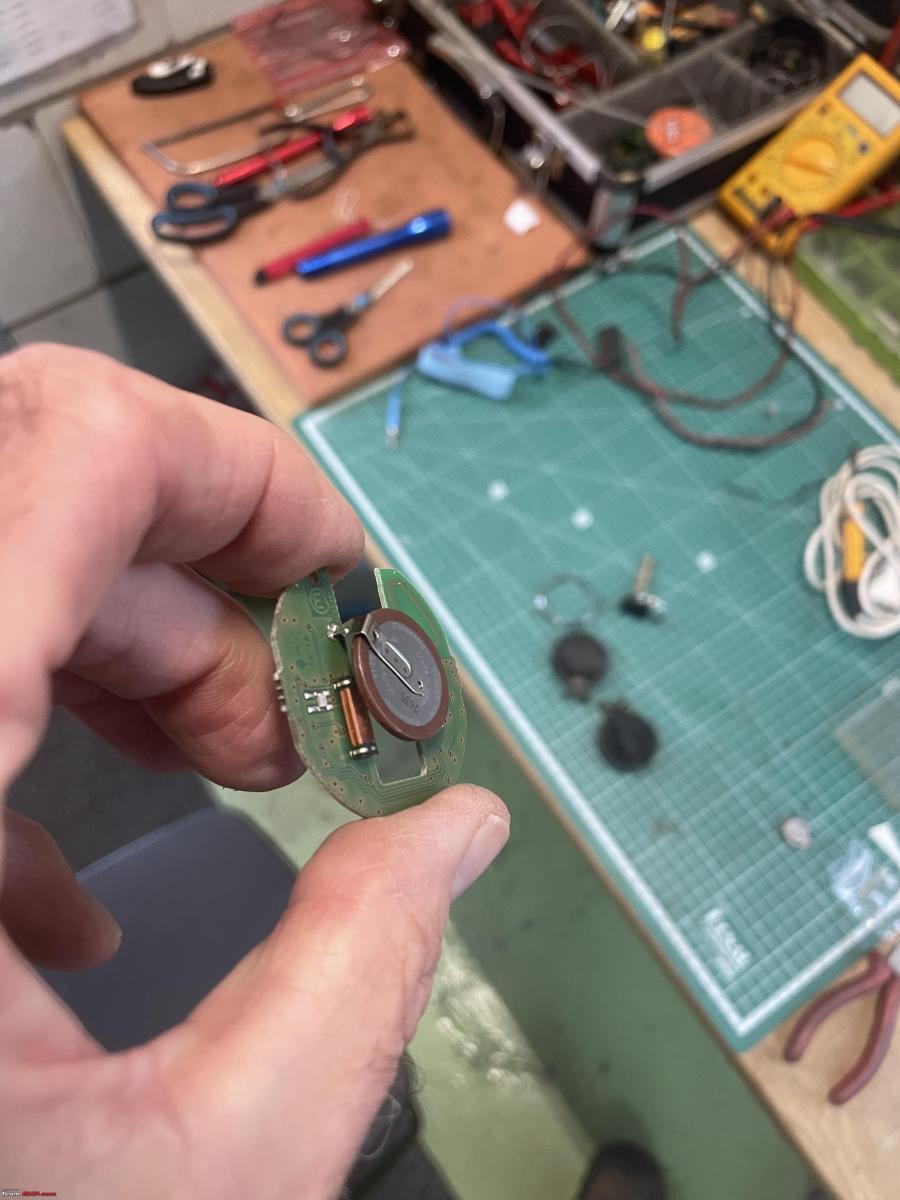

Although I did get the polarity right, I soldered the battery on the wrong side of the circuit board!!
So I had to take it off again and resold it on the correct side of the circuit board. I also found out, it needs to sit at precisely the correct height above the circuit board too. So I had to redo it several times before I got it right.
Time to start putting everything back together again.

I had a close look at how the locking mechanism for the mechanical key worked. It only moves about 1mm, so you need to make sure you get it positioned correctly.
Did a few test fits, and made sure the key would lock and unlock. Then got some plastic glue and glued the two halves together. A couple of clamps on it for 24 hours to let it dry and harden.
Fitting the chrome ring back on was very fiddly. I had to break out my Dremel and several hand files. I spent about 40 minutes getting the body of the key FOB back in shape. Because it had been cut with a knife it is difficult to get a total 100% alignment. So needed quite a bit of careful work done.
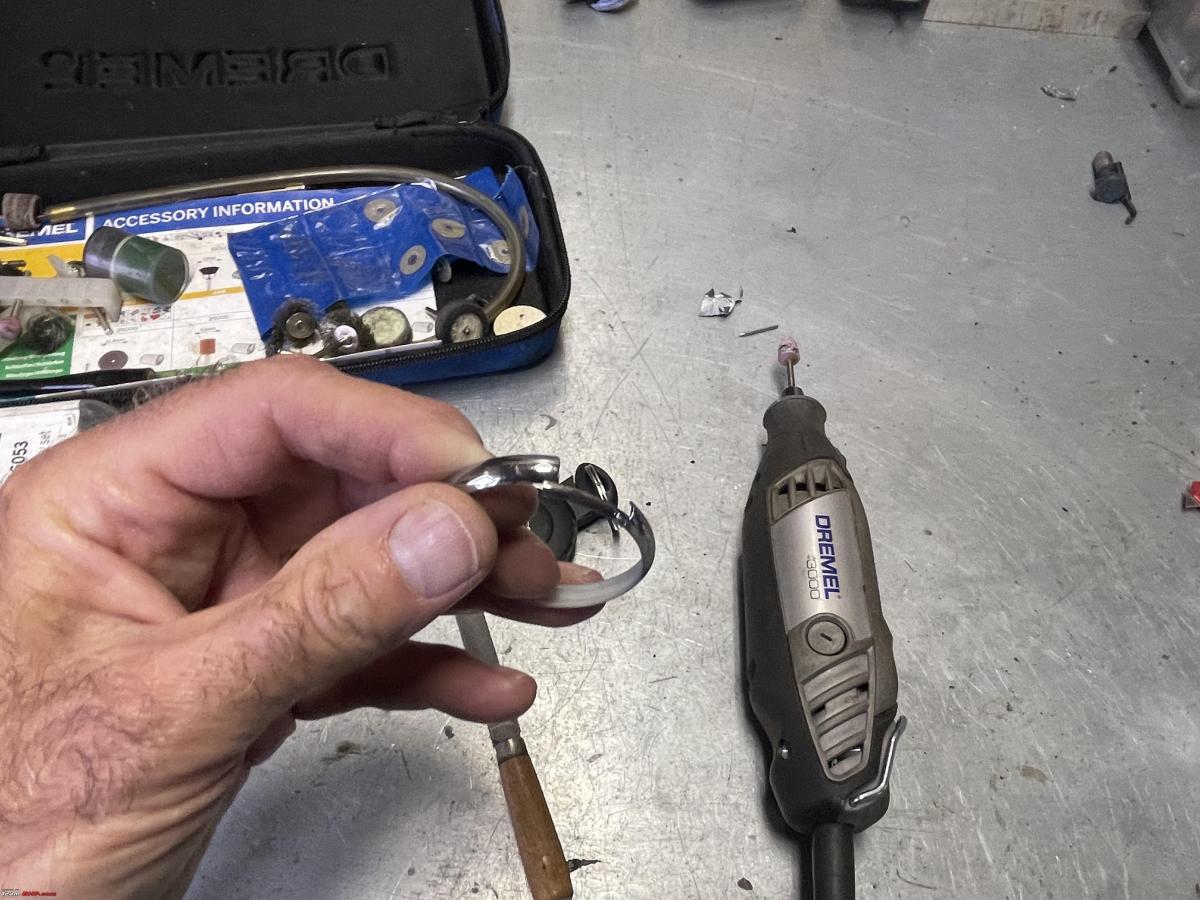

All is done and working once again.
A final image of another small job I did yesterday. Hung up another sign I bought last Sunday at the Interclassic show in Brussels. Nice!

I had to cancel my appointment with Cor for tomorrow. Rescheduled to take my W123 to him on Monday morning
Jeroe
Check out BHPian comments for more insights and information.
Source: Read Full Article